Outdoor Monument Mapping Challenges: Technical Problems and Solutions
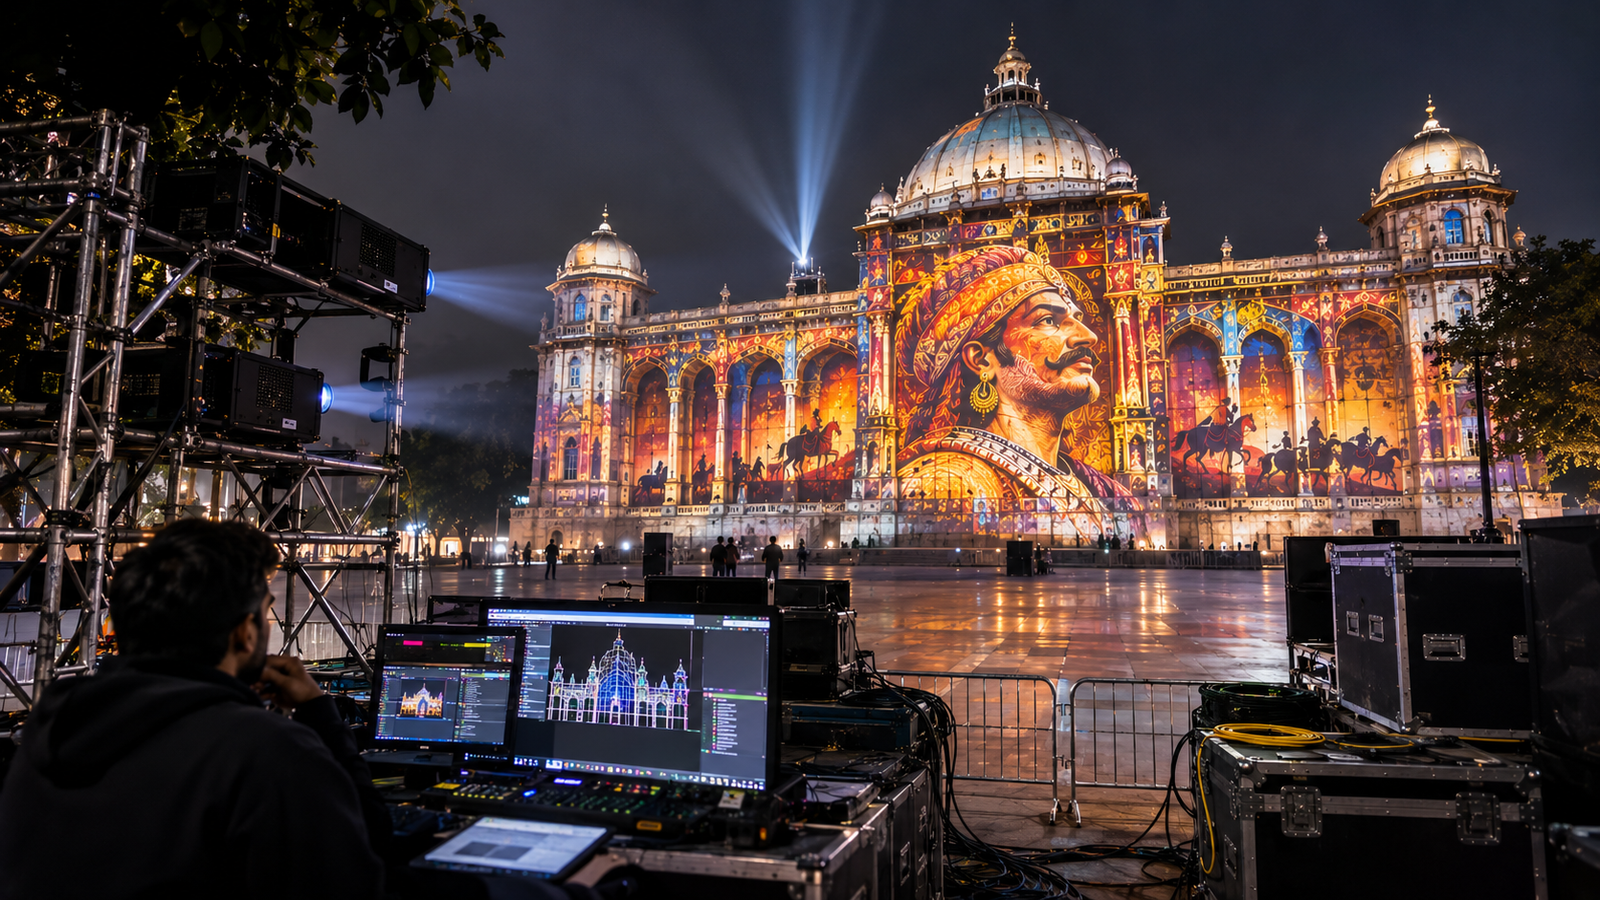
Outdoor monument projection mapping can transform historic buildings, forts, temples, and architectural landmarks into immersive visual experiences. However, projecting digital content onto large structures in an outdoor environment involves challenges that go beyond animation and projector selection.
Ambient light, complex architecture, weather, installation distances, and heritage restrictions can all affect the final result.
Understanding these challenges early helps project teams make better technical decisions, reduce installation problems, and deliver a more reliable show.
In this guide, we explore the most common outdoor monument mapping challenges and practical ways to address them.
1. Ambient Light and Image Visibility
One of the biggest challenges in outdoor projection mapping is controlling the effect of surrounding light.
Streetlights, nearby buildings, illuminated signs, and other environmental sources can reduce image contrast. Even a high-brightness projector may struggle to produce clear visuals when ambient light is excessive.
How to Address It
Conduct a site survey during the expected show timings.
Identify nearby light sources that affect the projection surface.
Select projector brightness according to the facade, ambient conditions, and required image quality.
Coordinate show timings with the site’s lighting arrangements where possible.
Design content with appropriate contrast and colour choices.
The goal is not simply to use the brightest projector available. It is to achieve sufficient contrast and image quality under the actual operating conditions.
2. Complex Monument Architecture
Historic monuments often feature columns, arches, domes, balconies, deep recesses, and irregular surfaces.
These architectural elements make projection mapping more complicated than projecting onto a flat wall.
Some surfaces may receive light easily, while others may be hidden from particular projector positions.
How to Address It
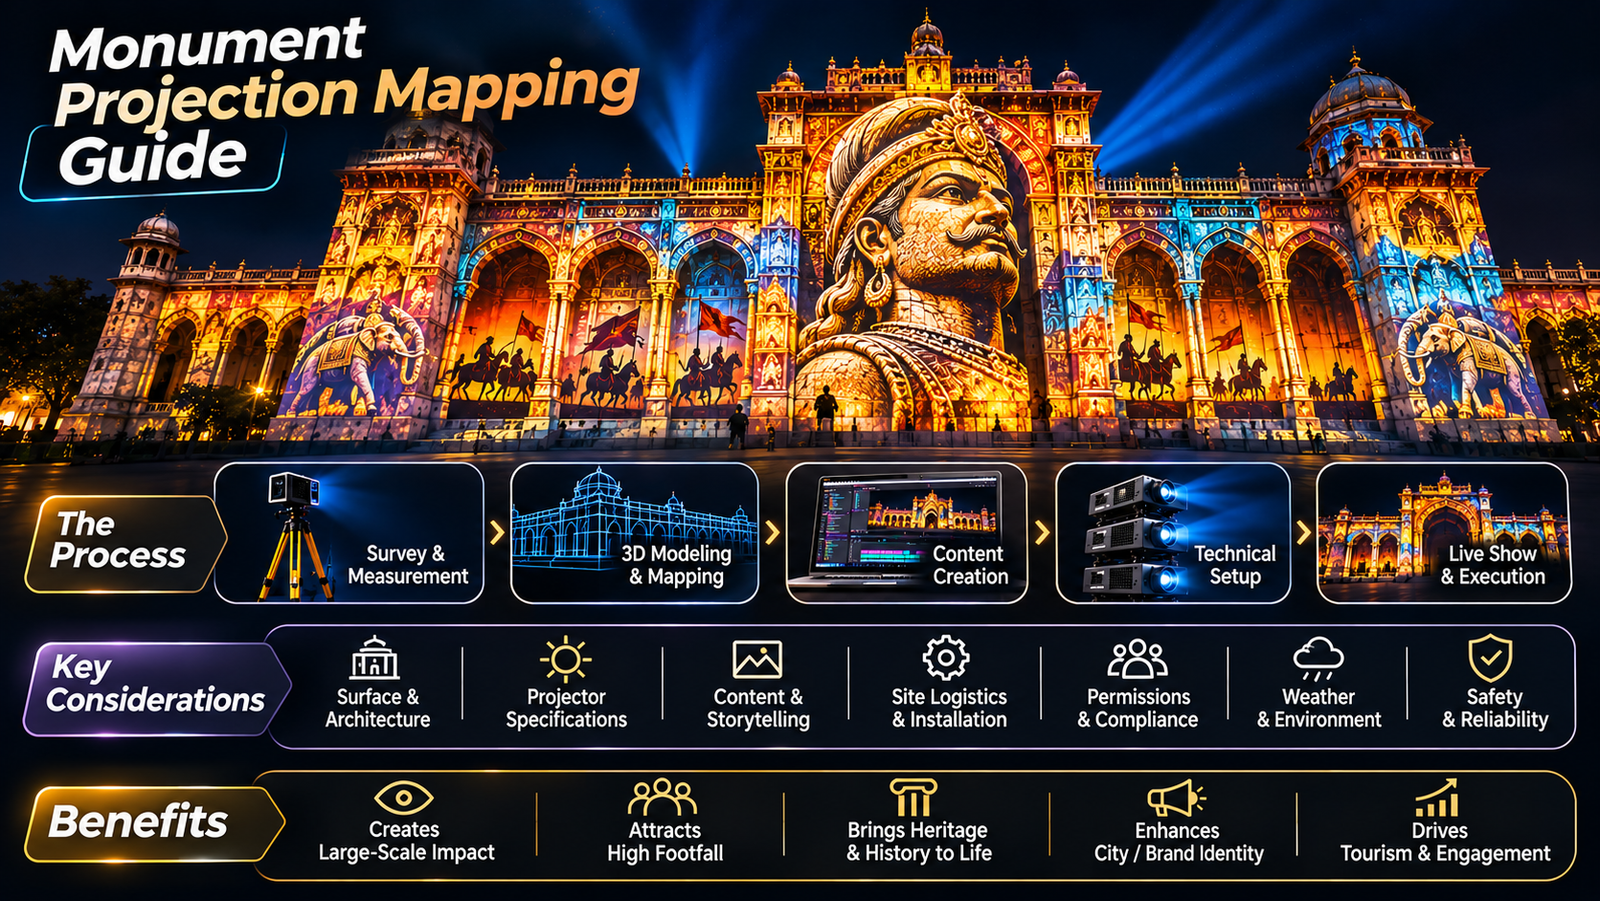
Start with detailed photographs, measurements, architectural drawings, and, where necessary, a 3D representation of the monument.
Identify the major architectural features and plan how each section will be illuminated.
The content should be designed around the actual structure. Architectural edges, columns, and decorative elements can become part of the animation instead of being treated as obstacles.
For more details, read our Monument Projection Mapping Guide.
3. Projector Placement and Throw Distance
Large monuments may require projectors to be positioned far from the projection surface. However, available space, roads, buildings, trees, and public access restrictions can limit installation locations.
The distance and angle between a projector and the monument affect image size, focus, geometry, and brightness.
How to Address It
Before selecting equipment, calculate the required image dimensions and assess the available installation positions.
Consider:
Projector-to-surface distance
Required image width and height
Lens throw ratio
Projection angle
Focus and image uniformity
Potential obstructions
Safe access for installation and maintenance
Use lens specifications and projection calculations to check feasibility before finalising the equipment configuration.
A projector that works well at one site may be unsuitable for another, even if both monuments appear similar in size.
4. Shadows and Projection Coverage
Trees, poles, nearby buildings, architectural recesses, and other obstacles can interrupt projected light.
Shadows become especially challenging when a single projector is expected to cover a large or geometrically complex facade.
How to Address It
Identify obstructions during the site survey and test possible projector positions.
Multiple projectors may help cover different parts of a structure or reduce certain shadow problems. However, simply adding more projectors does not guarantee complete coverage.
The team must evaluate overlapping areas, image alignment, brightness consistency, and the possibility of new shadows from alternative positions.
A carefully planned projection layout is more effective than attempting to solve every issue during the final installation.
5. Weather and Environmental Conditions
Outdoor equipment may be exposed to rain, dust, humidity, wind, and temperature changes.
Weather can affect projector operation, electrical safety, mounting stability, and installation schedules.
How to Address It
Use appropriate equipment protection for the expected environment.
Follow manufacturer specifications for operating temperature and environmental exposure.
Provide suitable protection for power connections and signal cables.
Secure mounting structures according to the installation requirements.
Develop a contingency plan for adverse weather.
Schedule equipment checks before each performance.
Outdoor installations should be designed for the actual site conditions. Equipment should not be assumed to be weatherproof simply because it is being used for an outdoor event.
6. Multi-Projector Alignment and Edge Blending
Large monuments often require several projectors to achieve the necessary image size and coverage.
When images overlap, visible boundaries can appear between projected areas if alignment and blending are not handled correctly.
Differences in focus, brightness, colour, and geometry may also reduce the quality of the final image.
How to Address It
The technical team should plan projector overlap and alignment before the event.
Important tasks include:
Geometric correction
Image warping
Edge blending
Brightness matching
Colour calibration
Focus checks
Playback synchronisation
The mapping and playback workflow should be tested with the actual projectors and content whenever possible.
For complex installations, adequate calibration time is essential.
7. Surface Colour and Material
A monument’s surface can significantly affect the appearance of projected visuals.
Light-coloured surfaces generally reflect more projected light, while dark surfaces can reduce perceived brightness. Surface texture, weathering, and material variations may also affect image uniformity.
How to Address It
Inspect the facade and assess its appearance under the expected lighting conditions.
Content designers should consider how colours, gradients, shadows, and fine details will appear on the actual surface.
Where possible, test representative content on the monument before finalising the complete show.
The objective is to create content that complements the architecture while remaining visible and visually coherent.
8. Heritage Conservation and Permissions
Historic monuments may be subject to conservation rules, access restrictions, and approval requirements.
Attaching equipment to a protected structure, routing cables through restricted areas, or modifying the surface may not be permitted.
How to Address It
Identify the relevant site owner, authority, or heritage management team early in the planning process.
Confirm requirements relating to:
Equipment placement and mounting
Temporary structures and rigging
Power distribution and cable routes
Public access and safety
Operating hours and sound levels
Protection of historic surfaces
Photography, recording, or other site-specific restrictions
Use approved installation methods and avoid unnecessary physical alterations to the structure.
Permission to access a monument should not be treated as automatic permission to install equipment or operate a public show.
9. Content Design and Historical Accuracy
A technically impressive show can still be ineffective if the story is confusing or the content does not reflect the monument’s significance.
Heritage projection mapping often requires research, archival references, historical reconstruction, and careful visual interpretation.
How to Address It
Develop the narrative before finalising the animation.
Identify the key events, people, architectural features, or cultural themes the audience should understand.
Where historical claims are involved, consult reliable sources and relevant subject-matter experts.
Design each sequence to support the narrative and use the monument’s geometry meaningfully. Avoid filling the facade with unrelated visual effects merely to create spectacle.
10. Installation Time and Operational Reliability
Outdoor monument mapping installations can involve transport, equipment setup, rigging, alignment, content testing, and coordination with site management.
Unexpected access restrictions or technical issues can reduce the time available for calibration.
How to Address It
Develop a detailed installation schedule that includes time for:
Equipment delivery and inspection
Mounting and safety checks
Projector positioning
Signal and power testing
Content alignment
Audio synchronisation
Full rehearsals
Troubleshooting and contingency planning
For recurring shows, document the final equipment positions, settings, and operating procedures. This can simplify maintenance and future recalibration.
Planning a Successful Outdoor Monument Mapping Project
Many outdoor challenges can be reduced through systematic planning.
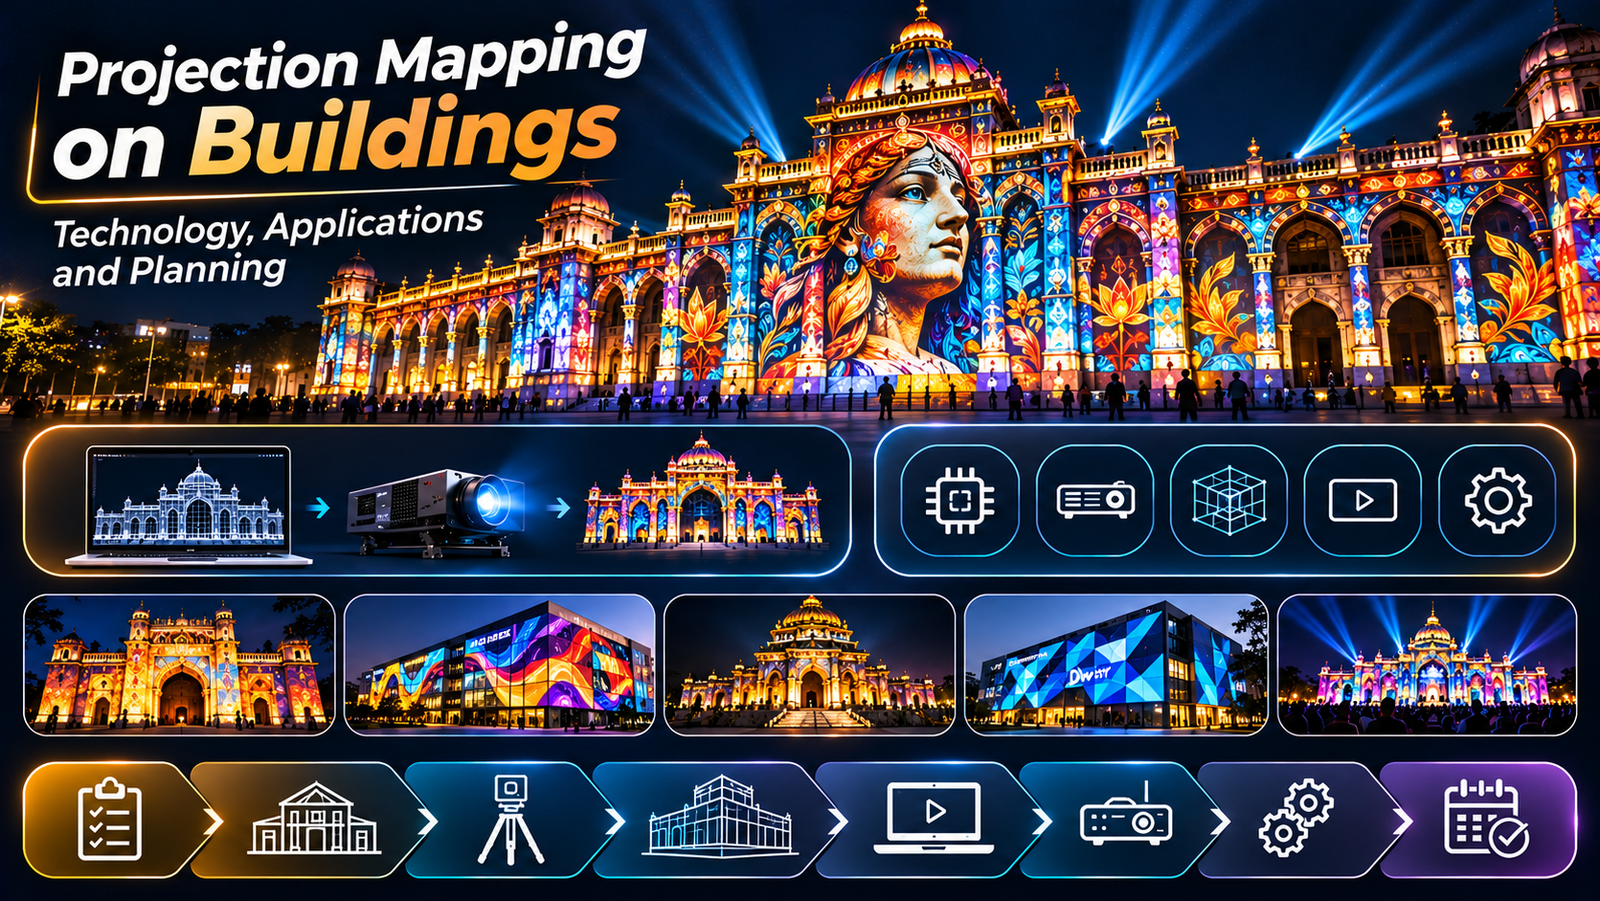
A practical workflow includes:
Define the project’s creative and operational objectives.
Conduct a detailed site survey.
Study the monument’s architecture and surface characteristics.
Identify permissions, restrictions, and safety requirements.
Plan projector positions, lenses, and coverage.
Develop content around the architecture and narrative.
Configure mapping software and playback systems.
Install, calibrate, and test the complete system.
Prepare for weather changes and technical failures.
Establish operational and maintenance procedures.
For a step-by-step planning framework, read our guide on How to Plan Monument Mapping.
Conclusion
Outdoor monument projection mapping combines architecture, digital storytelling, projection technology, and live technical operations. Its challenges include ambient light, complex geometry, projector placement, weather exposure, image blending, and heritage conservation.
Addressing these factors during the planning stage helps create a more reliable installation and a better audience experience.
At Visual GAP, we combine creative content development, projection planning, and technical execution to develop projection-based experiences for monuments, architectural environments, museums, and immersive spaces.
A successful monument mapping project begins with understanding the site and designing the creative and technical approach around its specific requirements.
Frequently Asked Questions
What is the biggest challenge in outdoor monument projection mapping?
There is no single challenge for every project. Ambient light, architectural complexity, projector placement, and weather can all affect the result, depending on the site.
Do outdoor monument mapping projects require multiple projectors?
Not always. The number depends on the monument’s dimensions, required brightness, projection distance, surface geometry, and desired coverage.
Can monument projection mapping work in areas with streetlights?
Yes, but surrounding illumination must be considered during technical planning. Projector selection, show timings, and content design can help improve visibility.
How can shadows be reduced during monument mapping?
A detailed site survey, careful projector placement, and appropriate coverage planning can reduce shadows. Multiple projectors may help in some situations, but their positions must be designed carefully.
Is special permission required for monument projection mapping?
Requirements vary by location, ownership, and conservation status. Project teams should confirm applicable permissions and installation restrictions with the relevant authorities before starting work.