Outdoor Projection Mapping: Equipment, Planning and Best Practices
Outdoor projection mapping transforms buildings, monuments, and architectural structures into large-scale visual experiences. It is widely used for cultural festivals, public events, heritage storytelling, brand activations, and special celebrations.
Unlike indoor installations, outdoor projection mapping requires careful planning for ambient light, weather, projector placement, and site conditions.
Whether you are planning a monument show or an architectural projection mapping event, understanding these factors can help you achieve better visual results.
In this guide, we explain the essential equipment, planning considerations, and best practices for successful outdoor projection mapping.
What Is Outdoor Projection Mapping?
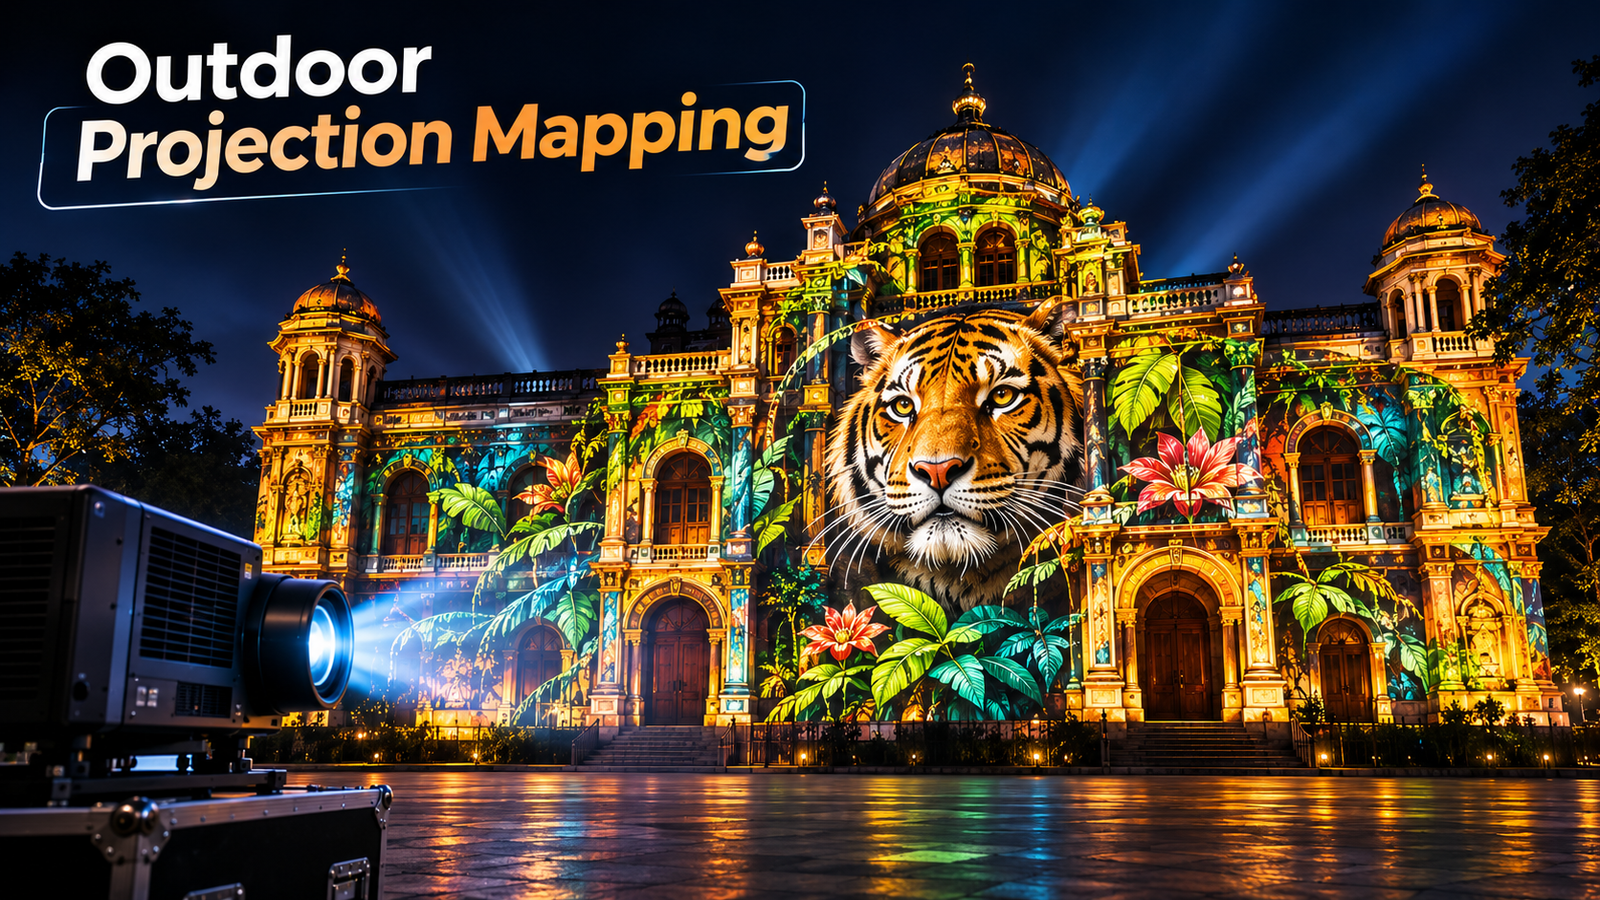
Outdoor projection mapping is a technique that uses projectors to display digital content onto exterior surfaces such as buildings, monuments, walls, and architectural structures.
The content is designed to match the shape and features of the surface, creating the illusion that the structure is moving, changing, or transforming.
For example, a heritage building can appear to change architectural styles, while a monument can become part of a historical story through animation and visual effects.
Outdoor projection mapping is commonly used for:
Building and monument shows
Heritage and cultural events
Festivals and public celebrations
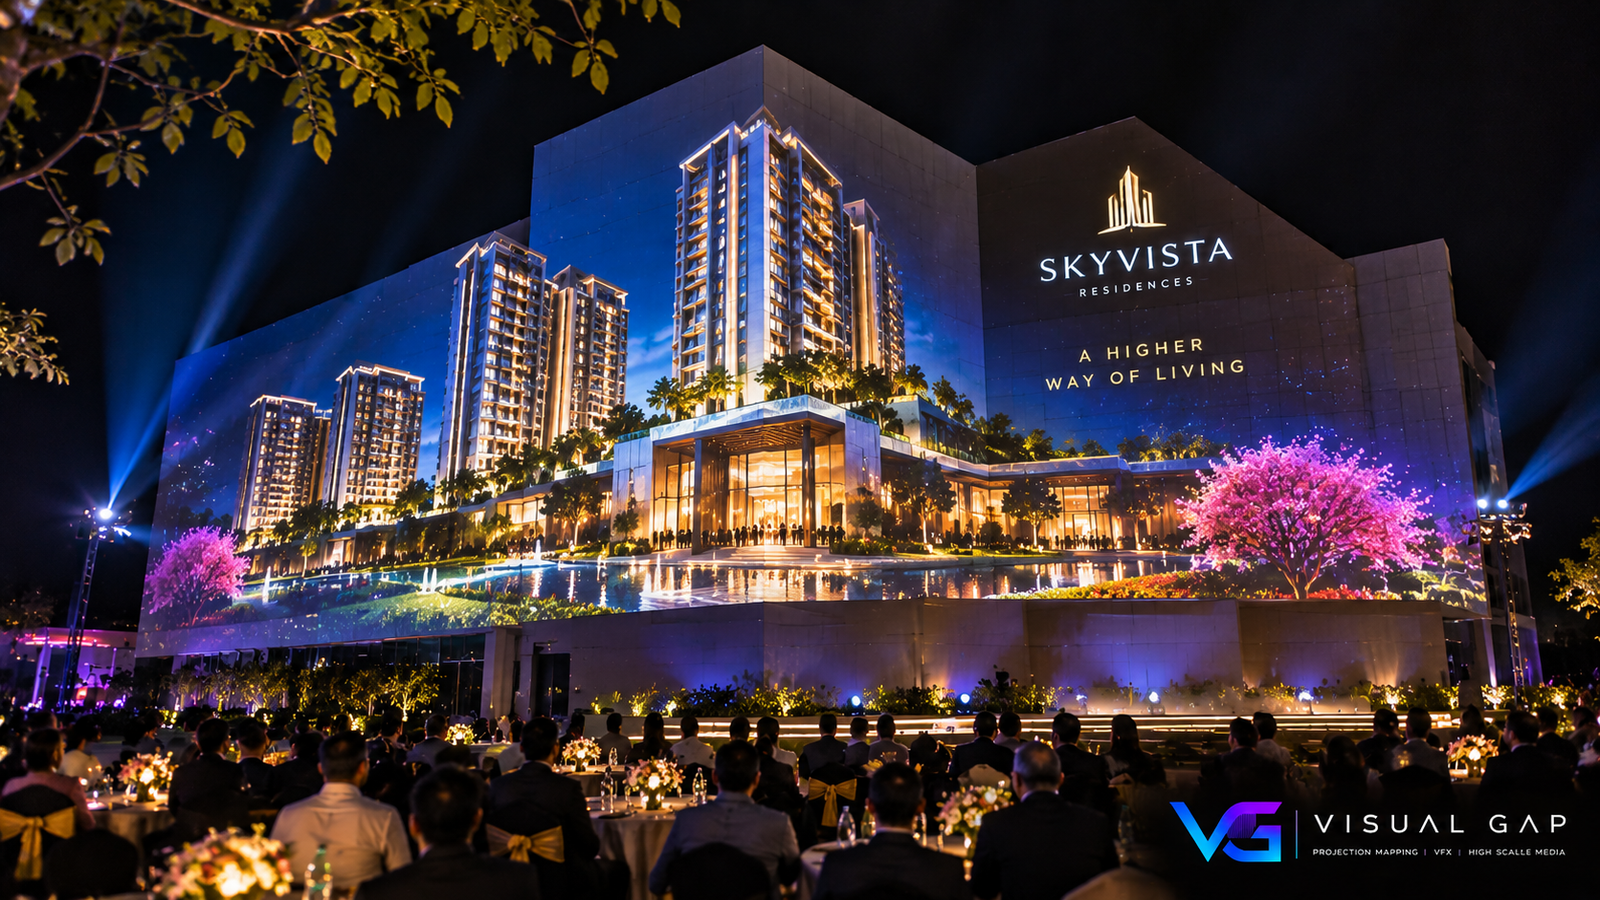
Product launches and brand activations
Tourism attractions
Large-scale architectural storytelling
1. Choose the Right Projectors
Projector selection is one of the most important decisions in outdoor projection mapping.
Outdoor environments can have significant ambient light, which reduces image contrast and visibility. Projector brightness, resolution, lens specifications, and projection distance must therefore be considered together.
Important factors include:
Brightness: The required light output depends on the surface size, ambient light, and desired image quality.
Resolution: Higher resolution can help preserve detail across large projection surfaces.
Lens and throw distance: The lens must suit the available distance and projection area.
Projector quantity: Large or complex surfaces may require multiple projectors.
Weather protection: Equipment needs suitable protection from rain, dust, and other environmental conditions.
For most architectural shows, night-time operation provides better projection visibility because ambient light is lower.
2. Assess the Building or Projection Surface
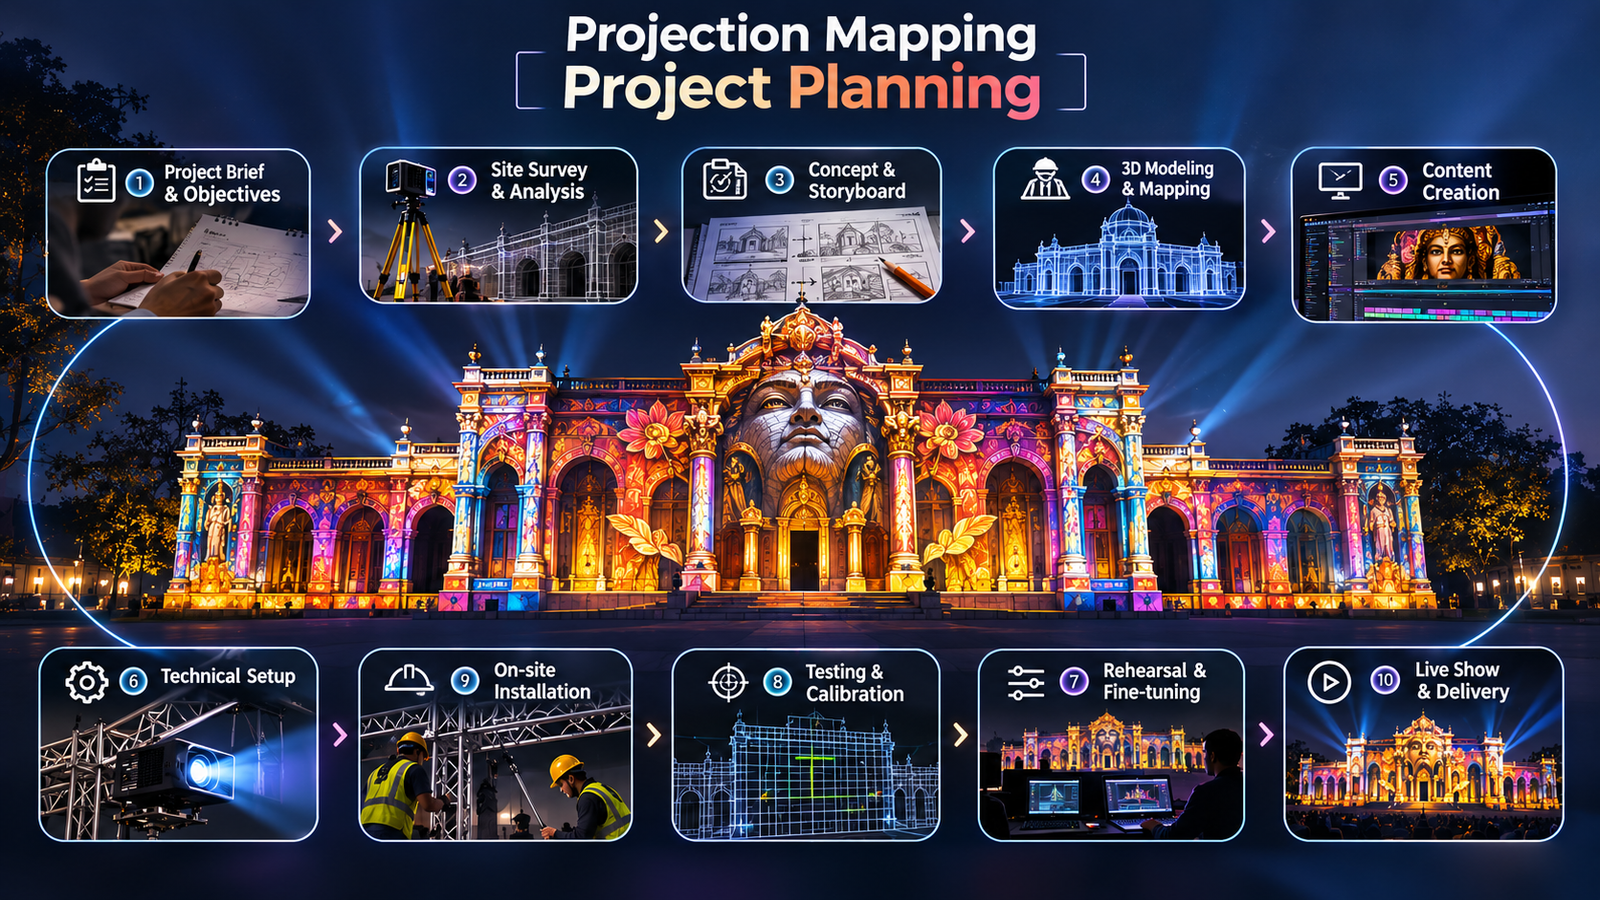
Every building has different architectural features, textures, and dimensions. A site survey helps determine how the content should be designed and where the projectors should be positioned.
Before installation, assess:
Building width and height
Architectural details and surface texture
Available projector locations
Projection distance and angles
Trees, poles, and other obstructions
Audience viewing positions
Power availability and cable routes
Light-coloured surfaces often provide better projection results than dark surfaces. Highly reflective materials and complex architectural details may require additional planning.
Accurate measurements are also essential for creating content that aligns with the building.
3. Create Content Specifically for the Structure
Outdoor projection mapping content should be designed around the physical features of the building or monument.
Rather than simply projecting a standard video, the creative team can use architectural details to develop visual effects that make the structure appear to open, move, break apart, or transform.
Content production may include:
Creative concept development
Storyboarding
2D and 3D animation
Architectural transformation effects
Motion graphics and visual effects
Music and sound design
The creative approach should suit the structure, audience, and purpose of the event.
For heritage projects, storytelling can highlight historical events and cultural significance. For commercial events, animation can focus on branding, product reveals, and visual impact.
4. Plan for Weather and Outdoor Conditions
Weather protection is essential for outdoor projection mapping.
Rain, humidity, dust, and temperature changes can affect equipment reliability. Wind can also create challenges for projector mounts, temporary structures, and other installed equipment.
Good preparation includes:
Providing suitable protection for projectors and playback systems
Using secure, professionally installed mounting arrangements
Planning safe cable routes
Protecting power and signal connections
Checking weather forecasts before installation
Preparing a contingency plan for adverse conditions
Equipment enclosures and mounting systems should be appropriate for the environment and comply with relevant safety requirements.
Never assume that professional projection equipment is automatically weatherproof.
5. Consider Projector Placement and Alignment
Projector placement affects image coverage, geometry, brightness, and the final viewing experience.
The technical team must determine suitable positions based on the building’s dimensions, lens specifications, projection distance, and potential obstructions.
Large surfaces may require multiple projectors to cover the entire area. In these cases, image alignment, warping, and edge blending may be necessary to create a consistent visual result.
A technical rehearsal should be conducted before the event to check alignment, brightness, playback, and image quality under actual site conditions.
6. Understand the Cost of Outdoor Projection Mapping
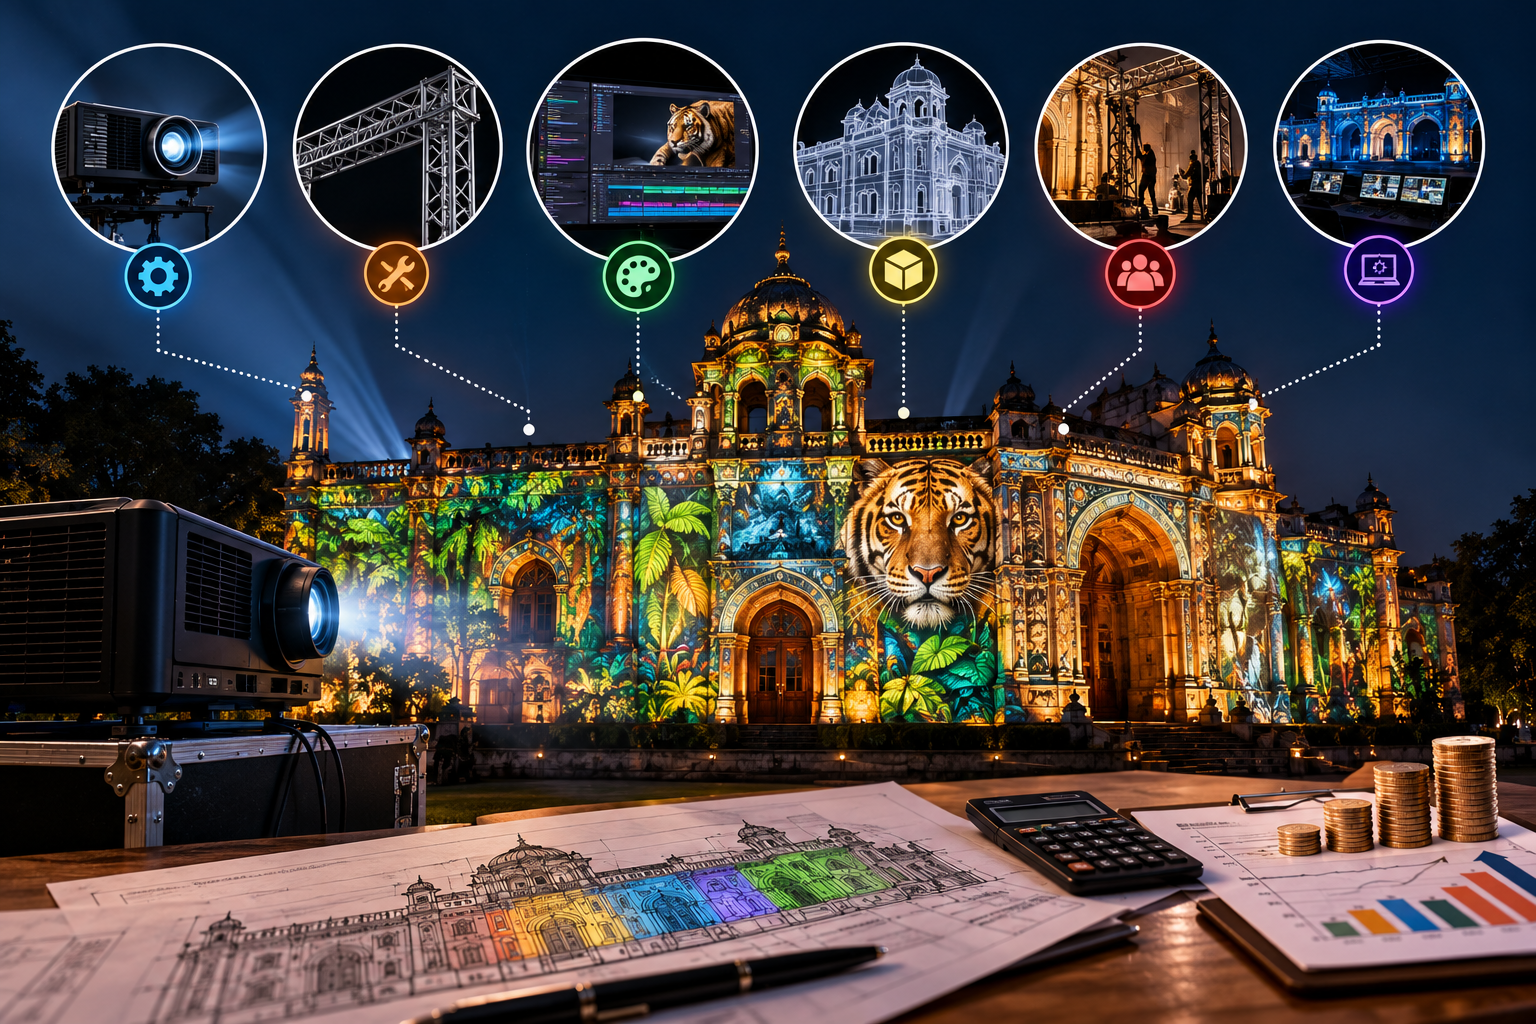
The cost of an outdoor projection mapping project depends on its size, duration, equipment requirements, content complexity, and location.
Common expenses include:
Projector rental and specialised lenses
Media servers and playback equipment
Content creation and animation
Installation and technical crew
Equipment transportation
Mounting structures and weather protection
Power distribution and cabling
Site permissions and access arrangements, where applicable
Rehearsals and show operation
A small outdoor installation may need relatively simple equipment, while a large monument show can require extensive technical preparation and multiple projectors.
For more details, read our guide on projection mapping costs.
7. Common Outdoor Projection Mapping Mistakes
Avoid these mistakes when planning your installation:
Using insufficient brightness: Ambient light can reduce visibility, so equipment must be selected for the actual environment.
Ignoring surface conditions: Dark, reflective, or uneven surfaces can affect the final image.
Skipping the site survey: Incorrect measurements can cause alignment and coverage problems.
Underestimating weather risks: Equipment and electrical connections need appropriate protection.
Leaving too little setup time: Projector alignment, calibration, and rehearsals should be included in the schedule.
Using generic content: Content designed specifically for the building can create a more integrated and compelling experience.
Conclusion
Outdoor projection mapping combines creative storytelling with careful technical planning. Selecting suitable projectors, surveying the site, designing content for the architecture, protecting equipment, and allowing time for calibration are all essential steps.
Whether you are planning a monument show, a cultural festival, or an architectural projection mapping event, the right preparation can help create a visually engaging and technically reliable experience.
At Visual GAP, we develop projection-based experiences for architecture, monuments, museums, domes, water screens, and immersive environments.
Visit our website to explore our services and discuss your next projection mapping project.
Frequently Asked Questions
What equipment is needed for outdoor projection mapping?
Depending on the project, you may need professional projectors, suitable lenses, a media server or playback computer, mapping software, mounting equipment, cables, and weather protection.
Is outdoor projection mapping possible during the day?
It can be technically possible in some conditions, but strong ambient light significantly reduces projection visibility. Night-time operation is generally more suitable for architectural projection mapping.
How many projectors are needed for a building projection mapping show?
The number depends on the building’s dimensions, projector brightness, lens specifications, projection distance, and required image quality. A site survey helps determine the appropriate setup.
Does outdoor projection mapping require special content?
Content should be designed around the building’s dimensions and architectural features. This helps align the animation with the structure and creates a more convincing visual transformation.
How much does outdoor projection mapping cost?
Costs depend on equipment, surface size, content production, installation, crew, location, and show duration. A project-specific technical assessment is the best way to obtain an accurate quotation.